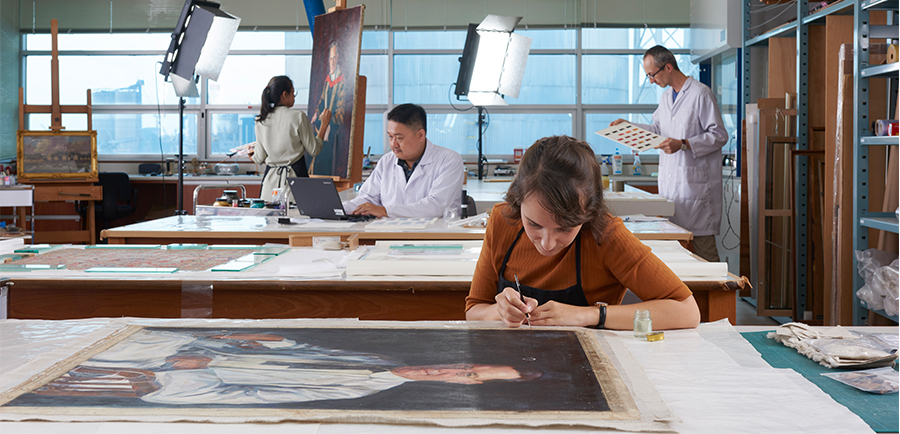
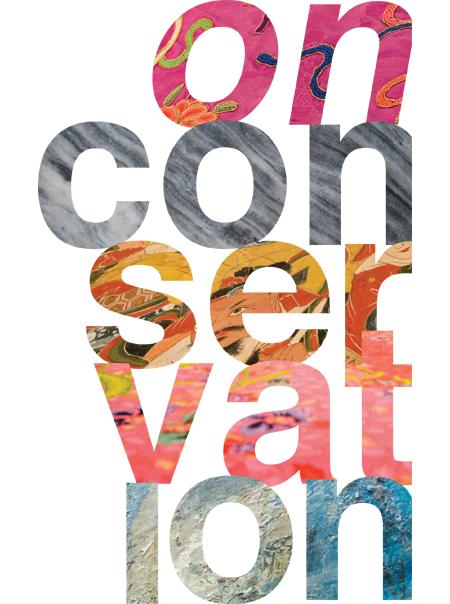
Conservation Services
One of the key duties of the HCC is to care for and carry out conservation treatment on the National Collection (NC). The main purpose of this is to strengthen the stability of its physical condition so that the artefacts and artworks can remain accessible for generations to come and preserve our shared heritage. The artefacts are diverse, and their physical condition can range from stable to fragile.
In the HCC, Conservation Services comprises 4 specialisms, namely Objects Conservation, Paintings Conservation, Paper Conservation and Textiles Conservation.
The Conservator assesses and documents the condition of the artefacts through various means of examination techniques and then, provides conservation treatment or preservation recommendations for storage and display. A Conservation Scientist from the Conservation Science section undertakes instrumental analysis in characterising the material composition of an artefact to help the Conservator make informed conservation treatment decisions.
Read on more about the Conservators' work below:
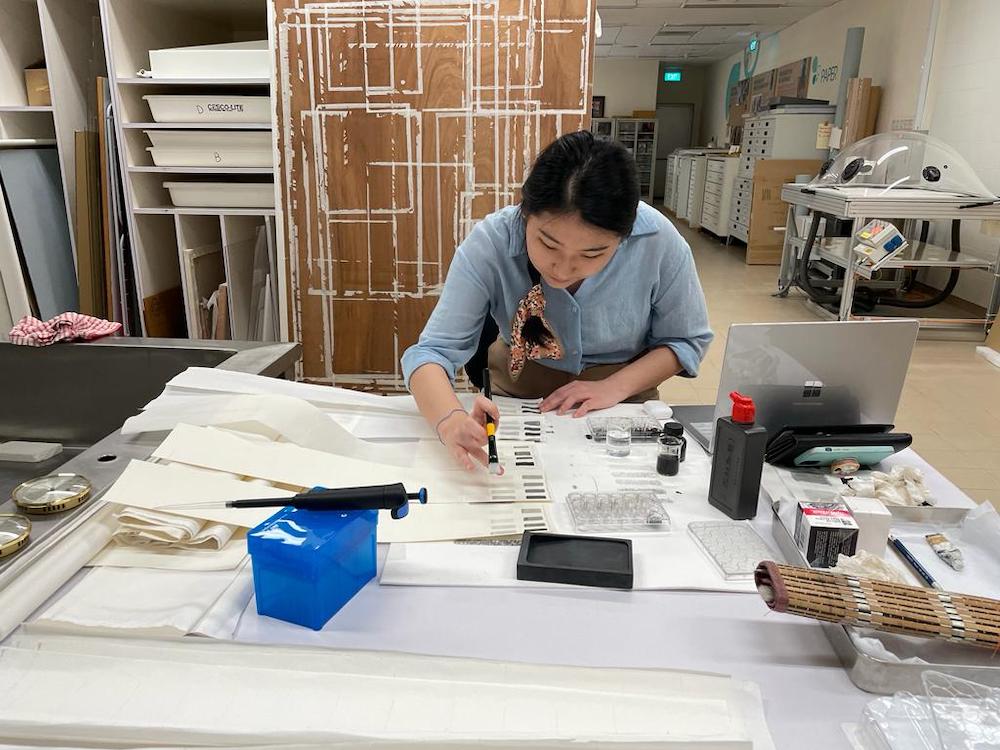
Unveiling the Uncharted – Objects & Paper Conservation
by Lee Siew Wah & Sylvia Haliman
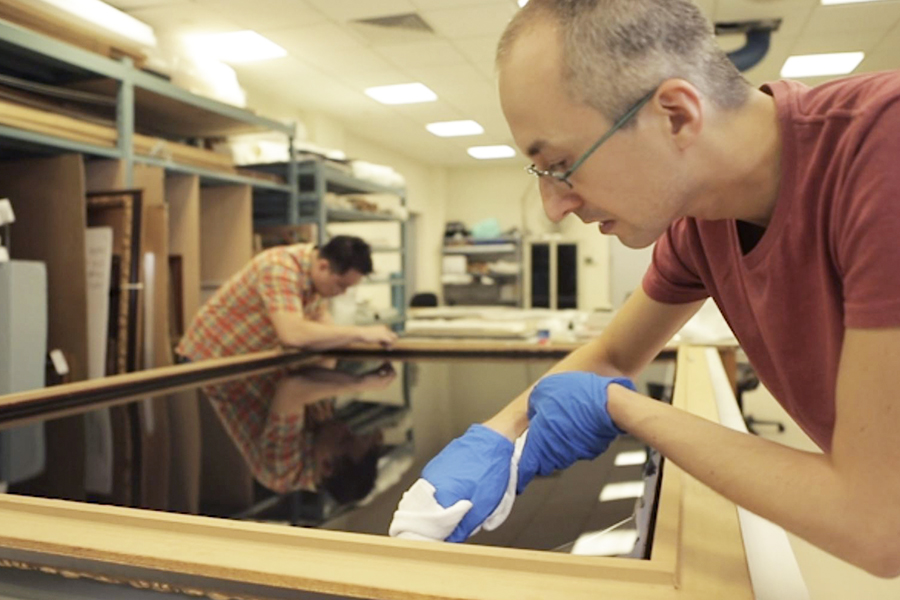
Conservation treatment is an important part of collections care. Treatment methods range from cleaning to repair.
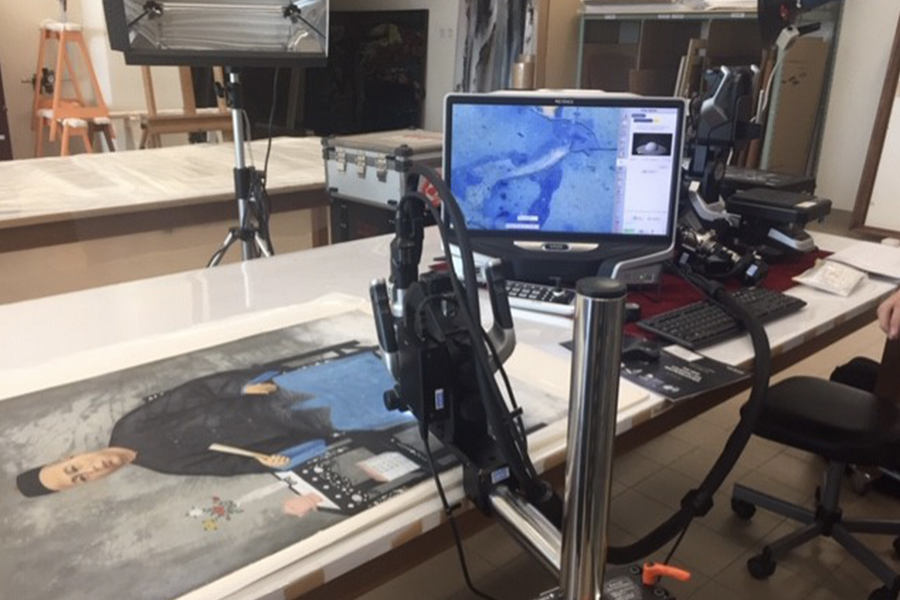
Before doing so, however, conservators first try to find out more about the artefact: what it is made of; how it was made; what kind of damage or deterioration it has suffered, and why. Some of this information can be gained by examining the artefact under magnification, or with the help of imaging techniques using specialised equipment. Understanding the artefact helps us to make suitable treatment decisions to improve its stability or appearance, without altering its historical and socio-cultural significance.
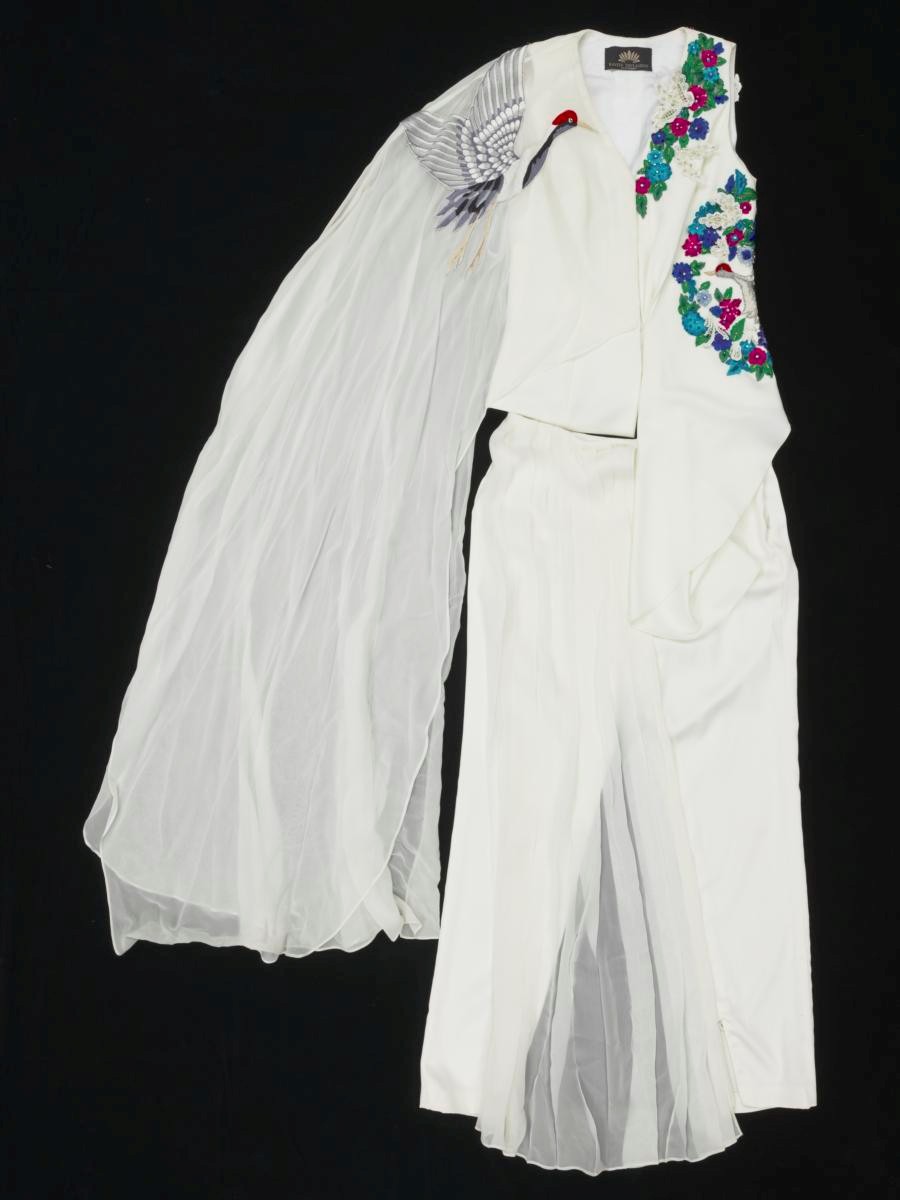
Making it Last – Textiles Conservation
by Geraldine Sim
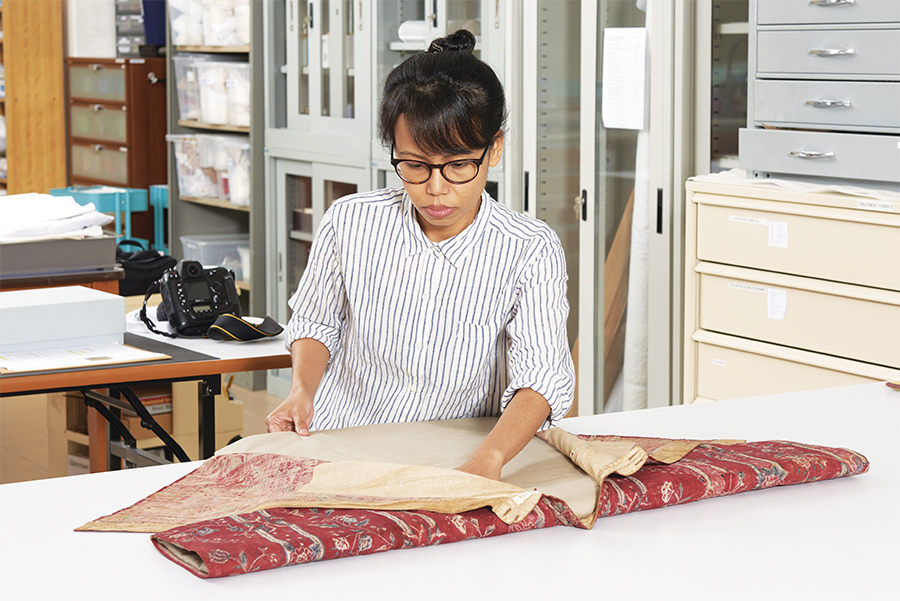
After examining and investigating an artefact, the conservator may carry out treatment. Conservation treatment encompasses a variety of activities, such as cleaning and repair, and can involve the use of various tools and materials that are uniquely suited to the required task. What the conservator decides to do depends on the needs of the artefact, with the aim of preserving and highlighting its significance. If needed, a specially designed mount may be created for the artefact so that it can be safely and appropriately displayed.
Beyond Aesthetics – Paintings Conservation
by Filzah Mohd Amir
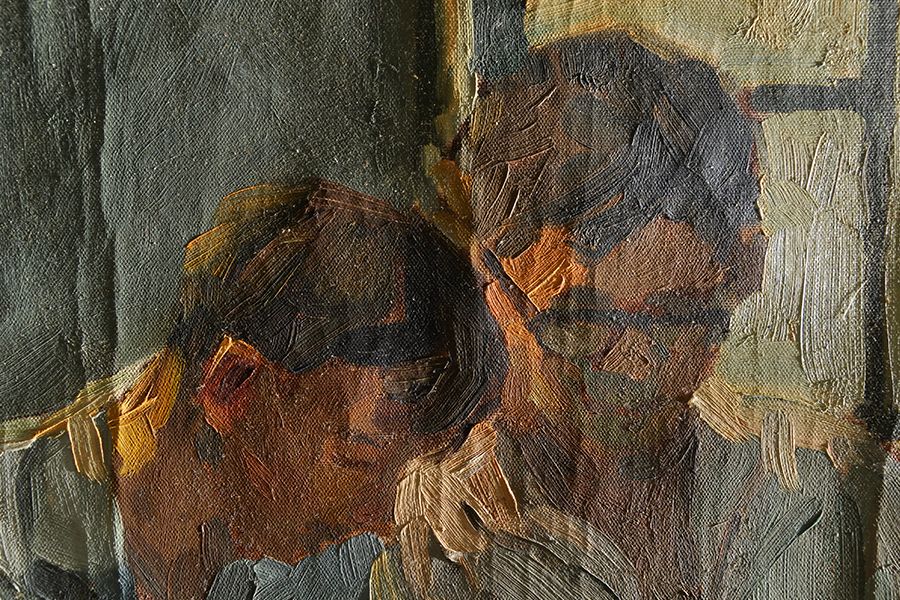
A variety of media and techniques can be found in the paintings of the National Collection. They range from traditional easel paintings and paintings on glass and wooden panels, to three-dimensional modern and contemporary artworks. They present the diversity of cultural heritage across Singapore and Southeast Asia. Conservators, as custodians of these works of art, have a duty to ensure their long-term preservation. To properly care for these paintings, we strive to understand their structural and material properties, cultural significance, and artists’ intent.
You can learn about selected tasks that Paintings Conservators do, as well as types of damages to paintings as you scroll along the images below.
A fundamental part of collections care is preventive conservation. This involves maintaining appropriate environmental conditions for storage and display of paintings. Keeping temperature, humidity, light, and dust at suitable levels is essential for reducing the rate of deterioration of the paint materials. Integrated pest management, safe handling, and suitable storage and display solutions further help to minimise the risks of damage to the paintings.
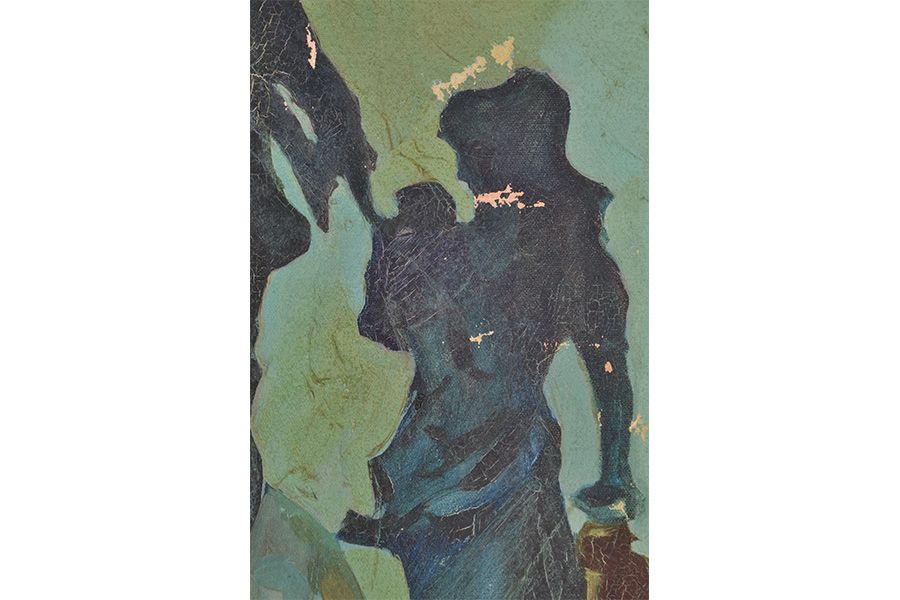
Drummer by Yeh Chi Wei
c.1970s
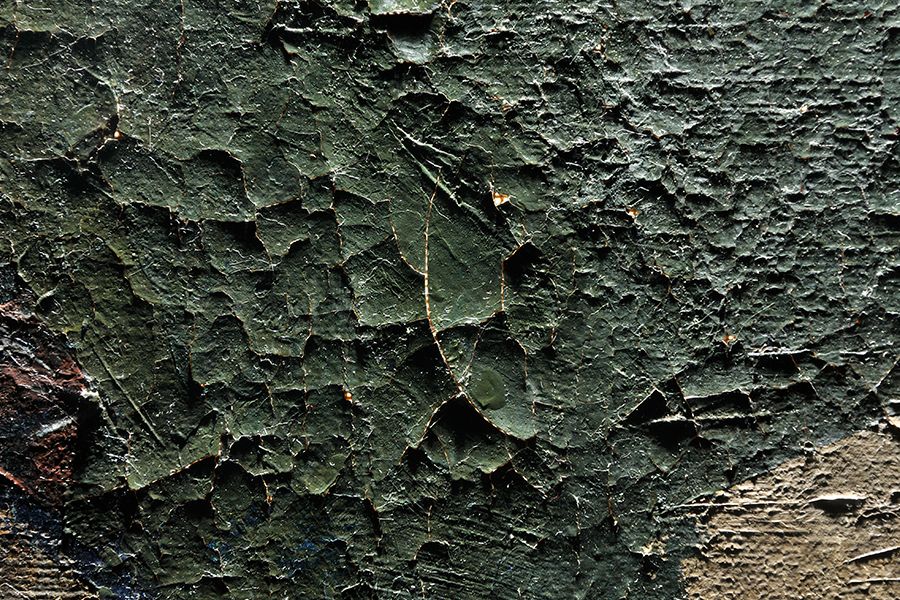
Apart from ageing due to environmental conditions, damage to paintings can also be caused by factors such as wear and tear by mechanical forces. Common types of damage include surface dirt, paint loss, tears in canvas, discolouration of varnish, pest infestation, and mould.
Still Life Studies by Tay Boon Pin
1962
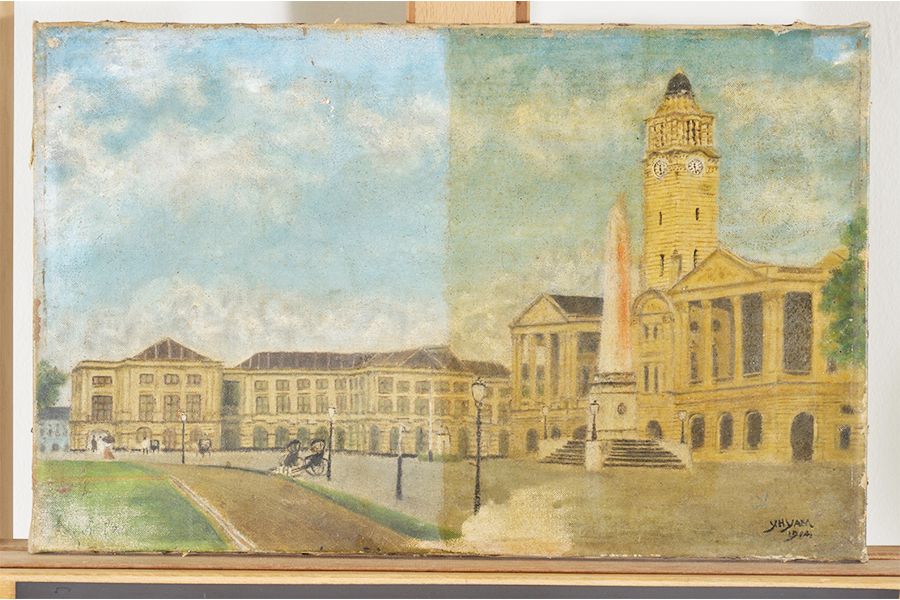
Empress Place by Y.H. Yan
1914
Interventive conservation treatment of a damaged painting is only carried out when necessary. Guided by core conservation principles that take into consideration the properties of materials and techniques, as well as the painting’s aesthetic qualities and cultural significance, the decision to treat is often a multidisciplinary collaboration between curators, scientists, and conservators.
Ancestral Portrait
19th century
Research is another important aspect of collections care and conservation treatments. The types of materials used in paintings have changed over time as different types of artist’s materials and techniques rise and fall in popularity, and conservators need to stay updated on the latest developments in the field and find innovative ways to meet ever-present conservation challenges.
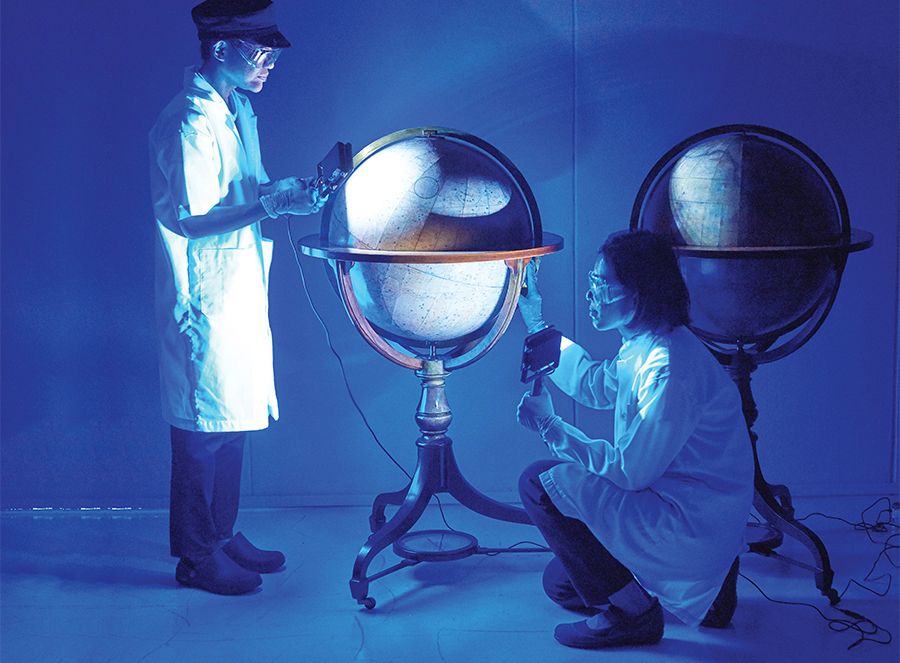
The Miracles of Science – Conservation Science
by Lynn Chua
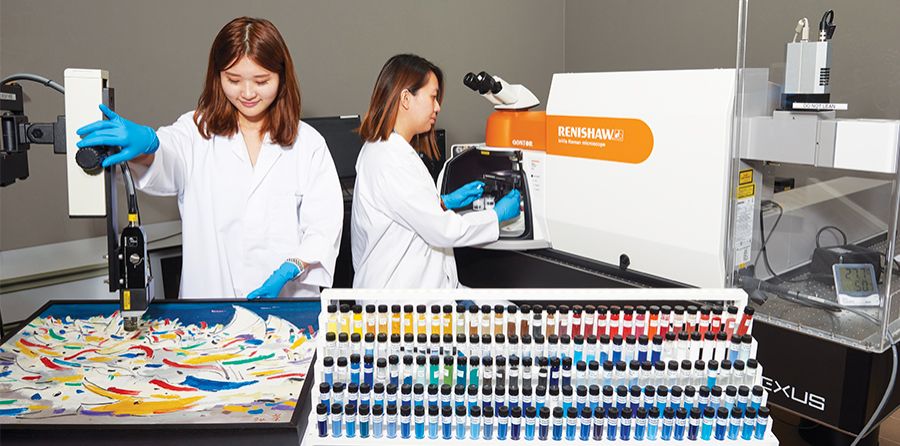
Science plays an important role in the field of Art and Heritage Conservation. Through this interdisciplinary field – “Conservation Science” – we study the material and chemical aspects of the artwork using scientific instrumentation.
The analyses of artworks can be non-invasive (do not require taking a sample) or micro-invasive (a small sample is taken from the artwork). Such analyses can help us to understand how artefacts were made, or how they have degraded, so that we can care for them appropriately.
A Day in the Life of Conservators
Artefacts and Artworks Featured
Collection of Asian Civilisations Museum
2011-00088, Child’s Baju Panjang, 2nd half of 18th century
Collection of National Gallery Singapore
2010-00391, Studying at Equator, Koeh Sia Yong, 1966
2014-01309, Still Life Studies, Tay Boon Pin, 1962
HP-0157, Ancestral Portrait, 19th century
P-0754, Drummer, Yeh Chi Wei, c1970s
2008-06929, A fleet of boat in Indonesia, Wu Guanzhong, 1994
Collection of National Museum of Singapore, National Heritage Board
2017-00528, Portrait of Robert Fullerton, George Chinnery, early 19th century
2018-00066, 21-inch terrestrial globe by J & W Cary, 1800
2018-00067, 21-inch terrestrial globe by J & W Cary, 1799
2018-00083, East India Company Chart Case, c1830
2019-00082, Lloyd’s Patriotic Fund £50 presentation sword,1804
XXXX-01629, Din Oad Burger Capikin Abraham di Wind (Manuscript Map on Vellum), undated
HP-0005, Empress Place, Y. H. Yan, 1914
Strategic Communications & Digital Department, National Heritage Board
Video: A Day in the Life of Conservators
CREDITS
Lee Swee Mun, Senior Conservator/Senior Asst Director, HCC
Damian Lizun, Senior Conservator (Paintings), HCC
Lee Siew Wah, Conservator (Paper), HCC
Geraldine Sim, Conservator (Textile), HCC
Sylvia Haliman, Conservator (Objects), HCC
Clare Lim, Conservator (Objects), HCC
Filzah Mohd Amir, Asst Conservator (Paintings), HCC
Dr. Steven Wong Bak Siew, Singapore General Hospital
Yeo Chye Whatt, Kenneth, Singapore General Hospital
Muhammad IIlyyas bin Mahmood, Singapore General Hospital
Ooi Xian Hua, Singapore General Hospital
Sim Wei Yow, Singapore General Hospital
To know more about how we care for the artefacts in the Singapore National Collection:


.JPG)